How to Carve a Pumpkin Into the Perfect Jack-O’-Lantern
Let’s face it: Most of us spend about five minutes a year thinking about how to carve a pumpkin. A few days before Halloween, we roll our oversized orange squashes onto the kitchen table, sketch out a quick design with a Sharpie, and the tough sawing and goop scooping commences.
But with a little extra thought and attention to detail, you can quickly elevate your pumpkin carving game to create spooky (or silly) Halloween porch decor that will make your neighbors think you’ve attended a craft bootcamp with Martha Stewart.
Why We Carve Pumpkins
A key part of getting in the right pumpkin carving headspace is remembering why we partake in this ritual every fall. The tradition of pumpkin carving is derived from Ireland, where it has a rich, deep history in the country’s pre-Christian pagan culture and the Gaelic festival of Samhain. Marking the end of the harvest and the beginning of the winter darkness, Samhain celebrated a transition between seasons, and it was believed that during this festival, the boundaries between our world and spirit world were blurred.
As part of the festivities, turnips, beets, potatoes, and gourds (like pumpkins) were carved into shapes resembling humanoid creatures and spirits in order scare away evil spirts. When Irish immigrants came to the U.S., some of these customs became incorporated into what we now celebrate as Halloween.

Choosing the Perfect Pumpkin
To choose the perfect evil-spirit-chasing pumpkin, look for one that is firm and solid, with no soft spots, cuts, or other damage. Breaks in a pumpkin’s skin can facilitate rot, and pumpkins that have already softened will be harder to cut. To make sure you find a healthy, mature pumpkin, test it by running your fingernail along its skin; if the skin breaks, the pumpkin is too ripe, and it will quickly rot after you cut it open.
The best place to find healthy, mature pumpkins is at a local farm or farmers market, where you can be sure the pumpkin hasn’t been sitting in a hot truck for weeks. Don’t worry about some dry, calloused, or misshapen areas of your pumpkin — these don’t suggest poor health. In fact, they can add to your spooky designs.
Prepping Your Pumpkin for Surgery
Once your perfect pumpkin is home, prepare it for carving by first giving it a good wash. Scrubbing it with natural dish soap or castile soap can help remove dirt and microorganisms on the skin, which can help protect the interior of the pumpkin from rotting after you cut it open. Do not cut into the pumpkin until a day or two before you are ready to display it. If you must carve it sooner than that, you can extend its life by placing the carved pumpkin in the refrigerator — if you can find room!
Assembling the Right Tools
It’s amazing how adding a few extra tools to your pumpkin carving arsenal can improve your carving game and simplify the process. You may already have some tools on hand, but you can really expand your design potential with a few additions. (Make sure to keep all sharp tools out of kids’ hands and help them with the cutting!)
Some tools you may want:
- A sharp, sturdy, long knife for deep cuts.
- A paring knife for details.
- A small saw, awl, apple corer, and scoop for added artistry.
- A handy pumpkin carving kit that includes a variety of implements for any kind of intricate design.
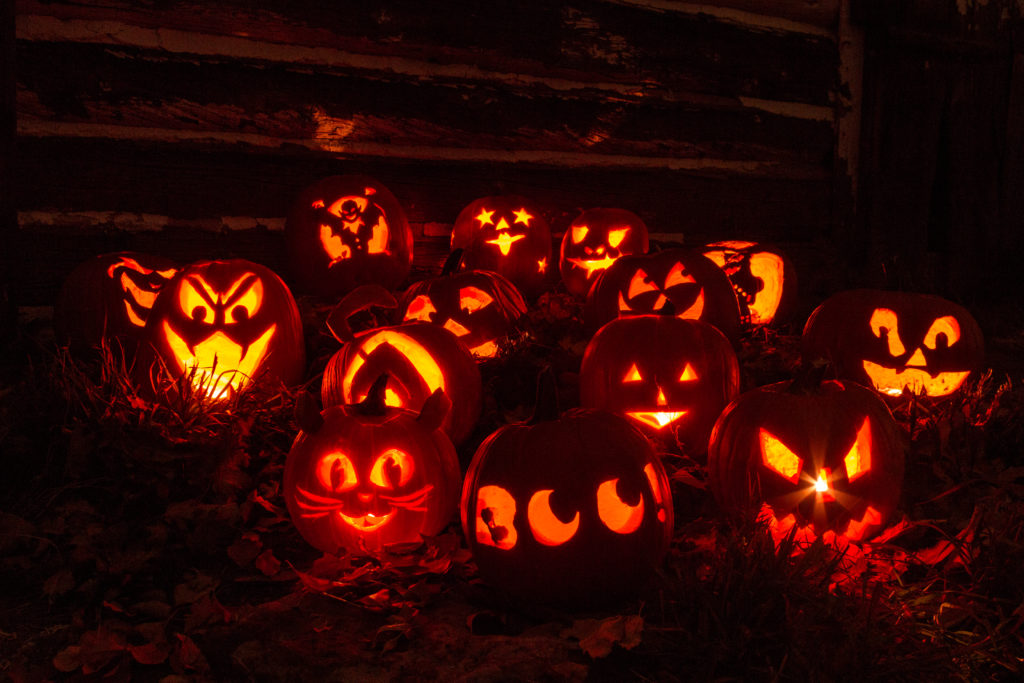
Finding the Perfect Design
Before you make your first cut, work out your design. Don’t make your first sketches directly onto the pumpkin. Practice drawing faces on a piece of paper. When you have settled on a design, you can cut it out and use it as a stencil. Here are a few fun design ideas!
Printable Stencils:
- Hang out with these bats.
- Spook pets with this raccoon face.
- Bring an evil tree to life.
- Go kid-friendly with beginner designs.
Tutorials:
- Bring magic to your pumpkin with Tinker Bell’s pixie dust from Instructables.
- Make enchanting gnome houses from Country Living.
How to Carve Your Pumpkin
The most popular way to cut open a pumpkin is to start by cutting a circle around the stem. But this can weaken the pumpkin’s overall structure and shape. Instead, we recommend cutting a square hole in the back of the pumpkin. Not only will this help preserve the pumpkin, but it will also make scooping easier and offer quick access to your candle or light.
Once you have your back access cut and insides scooped out, use your stencil to cut out all the features of your design. You can also incorporate painted elements to add extra detail and expression to your carved creation.
Post-Op Pumpkin Protection
Cutting into the skin of a pumpkin accelerates the rotting process, so after you cut out your face, add a little extra protection by cleaning its surfaces again. Apply an essential oil-based cleaning spray or treat the pumpkin’s skin with a solution of borax dissolved in warm water. You can also cure the pumpkin by leaving it overnight in a tub of borax water at a ratio of 1 tablespoon of borax per gallon of water.
Bringing Your Jack-O’-Lantern to Life
Once your pumpkin is ready, set it outside and place a candle or light in its cavity. Rather than a larger candlestick, a small tea light candle works well and will extinguish when it burns out without leaving much mess. If you are concerned about using live fire, battery-powered candles can also give your Halloween the flicker of light that brings it to life.
Get the most out of your pumpkin carving experience by saving the seeds and making some of these favorite fall recipes.
© 2021 Texas Farm Bureau Insurance